- This topic has 1 reply, 1 voice, and was last updated 8 years, 7 months ago by
.
-
Topic
-
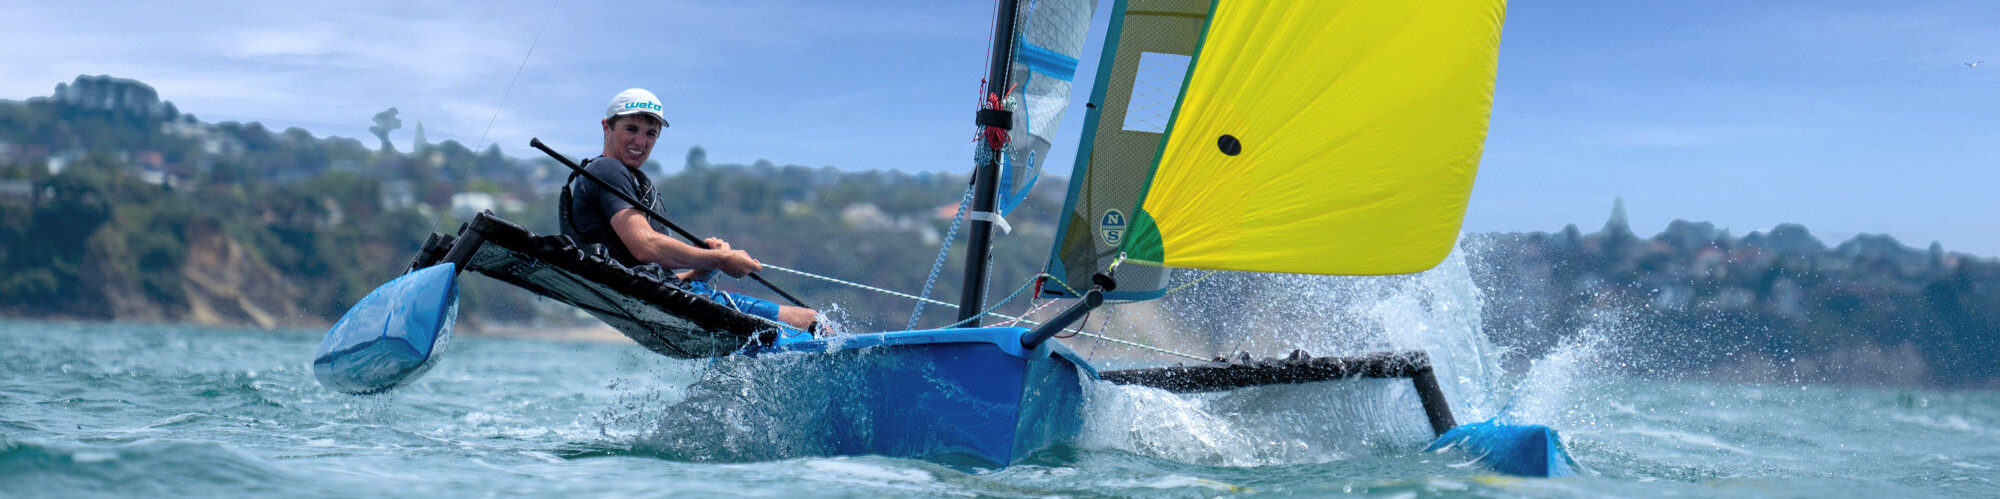
The Weta is a very wet boat, especially in winds over 15 knots, when it seems as if a fire hose is spraying across the middle of the tramps at either side.
The centre of the boat and the outer edge of the tramp get less spray and a pair of sunglasses or goggles (e.g. kite surfing goggles) can make it easier on the crew (wipe with RainX hydrophobic liquid available from motoring stores).
However, if you are faced with mutiny from the crew because of the spray, you may want to consider using the instructions below to create your own spray guards which were conceived and designed by Weta sailor, Steve McLelland.
According to Jim they don’t affect the performance and he has tested them in waves and wind up to 25 knots.
Printable Instructions here
If you don’t want to make your own then Pete Cailes is making Splash Guards available from the UK at £106.00 plus P&P. Only one attachment to be fitted. No bolt ropes, no sleeves, tailored to suit the profile of the main hull.
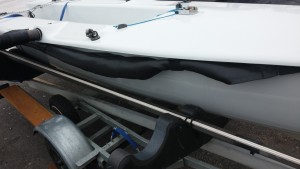
When not required, splash guard can be rolled up and stored under the gunwale.For more information contact Pete Cailes (peteandlesleycailes@gmaildotcom)Also Rain and Sun, who make boat covers including a Mast Up Cover for the Weta also make Spray Guards
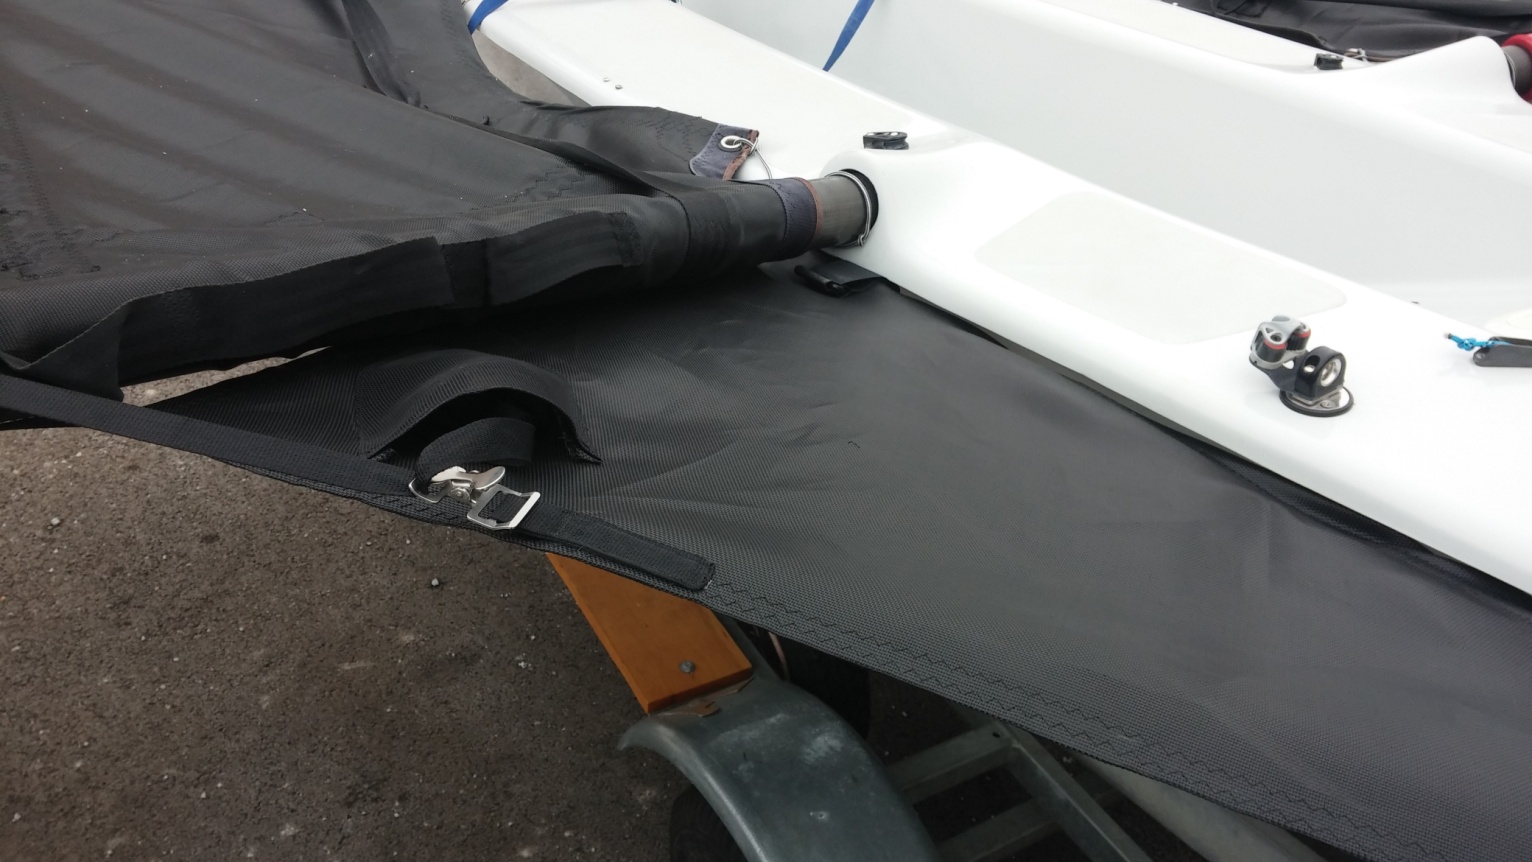
https://rainandsunshop.co.uk/cart/weta-spray-guards.htmlDeployed

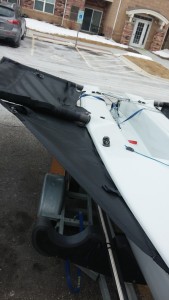
Rolled Up
Material List
Weta Spray Guard BOM Description Qty. Units Vendor Part # Price Amount Comments 1″ webbing 40 ft Sailrite 103416 $ 0.35 $ 14.00 trampoline 2 yd Sailrite 5624 $ 15.95 $ 31.90 1.5 yd/set 3mm line 20 ft Sailrite 103130 $ 0.55 $ 11.00 Thread, V-69, Polyester UV 1 per Sailrite 20225 $ 5.95 $ 5.95 makes 2 sets Bobbin, V-69, Polyester UV 4 per Sailrite 103313 $ 0.55 $ 2.20 Basting Tape, Seamstick, 1/2″ 1 per Sailrite 20307 $ 7.95 $ 7.95 makes 2 sets Alligator Buckle, Tourniquet, 1″ SS 2 per Ebay $ 6.99 $ 13.98 Ronstan Eyestrap, RF 1058 4 per West Marine 120733 $ 7.48 $ 29.92 free ship > $50 M5 25mm pan head bolts, nylocks, washers 1 per West Marine $ 5.00 $ 5.00 Velcro Straps 2 per Home Depot 245578 $ 6.00 $ 12.00 Total $ 133.90 Hints and tricks
- Make sure you make a left side and a right side! The webbing goes on the underside.
- I use a model airplane covering iron to keep the folds crisp in the trampoline material. Be sure not to use too much heat or stay in one place too long. Standard warnings…practice first…very easy.
- Don’t cut the basting tape. Tear instead, making easier paper backing removal.
- Zig zag stitching is used on long runs. Straight short stitches for localized high strength.
Directions
- Measure trampoline to 53″, mark and cut.
- Measure 7″ along one short side and mark. Measure 46″ along the other side and mark. Draw the Angle side, then cut.

- Short and Long sides, full length, fold over 1/2″ – 3/4″, iron, then baste tape in the fold. Make sure you make a left and a right!!!!
- Short side, baste on top of the fold, webbing full length. 2 runs zig zag sew.
- Long side, cut 61″ from the corner (see drawing above), fold over 1/2″, baste, cut 3″ webbing. Sew perpendicular to Long side.

- Long side, fold and webbing. Extend webbing 8′ beyond where the Short and Long sides meet (for boat attachment). Zig zag stitch, strong in the corner.
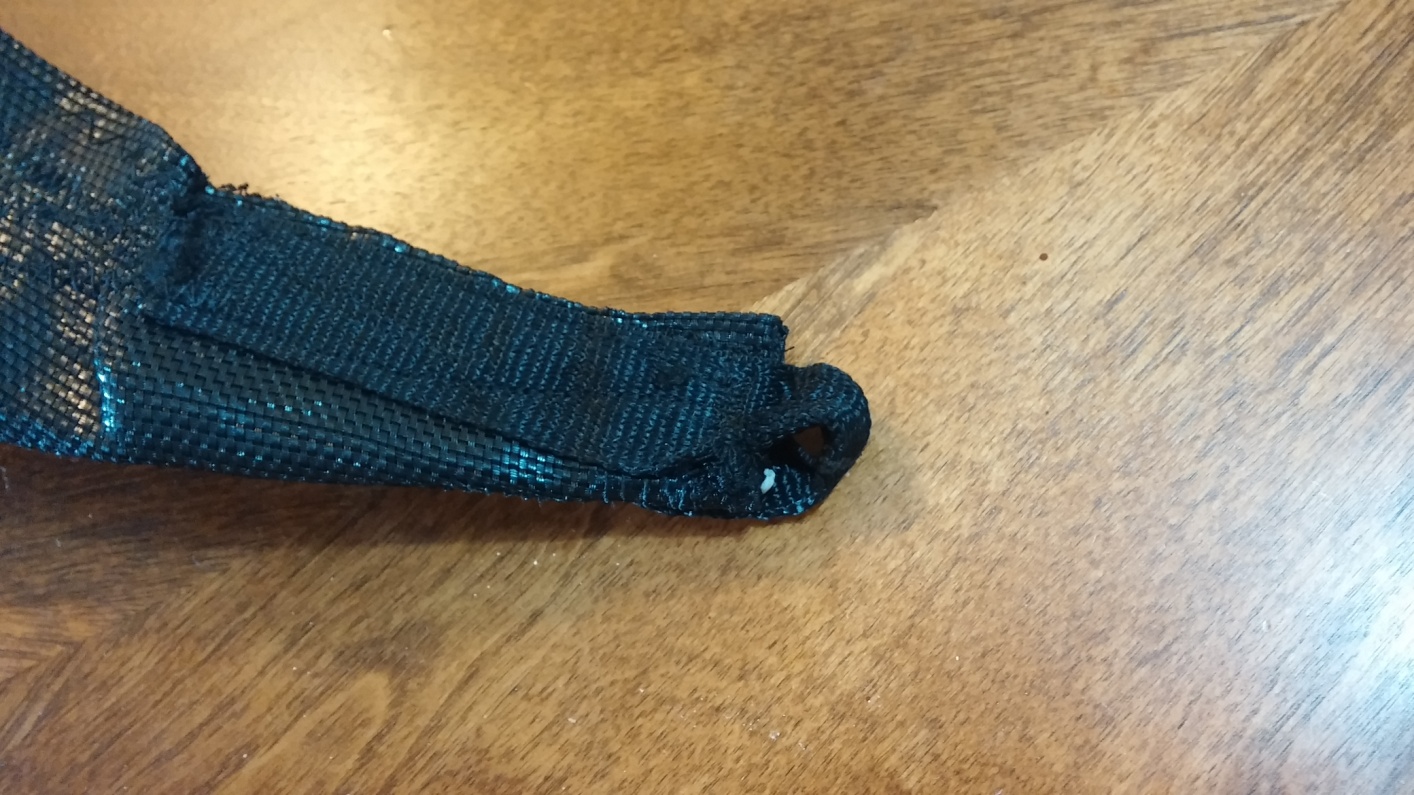
- Short side, cut webbing square at the tip, fold over three inches underneath, baste…DO NOT sew in the first 1/2″ of the fold as the tension cord runs through there, so put a mark there so you don’t overrun! Strong.

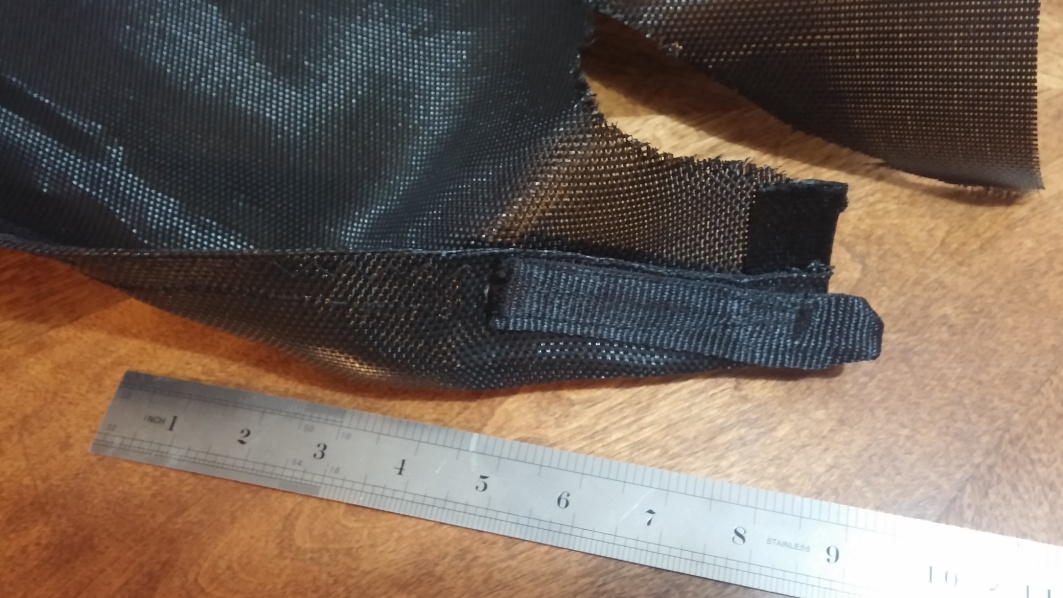
- Cut webbing 8″ and 10″ for corner attachment points. Mark center of loop, fold triple layer in center, stitch.

- Short side, 8″ webbing attachment strap at 45° angle, loop about 3/4″ out and 1/4″ up from the corner. Again, don’t sew into the cord channel.
- Long side, fold over tip 1 1/4″, leave channel.

- Long side, 10″ webbing attachment strap, in-line. Channel opens up at an angle.

- Run 8′ of 3mm line through the two tips, tie off.

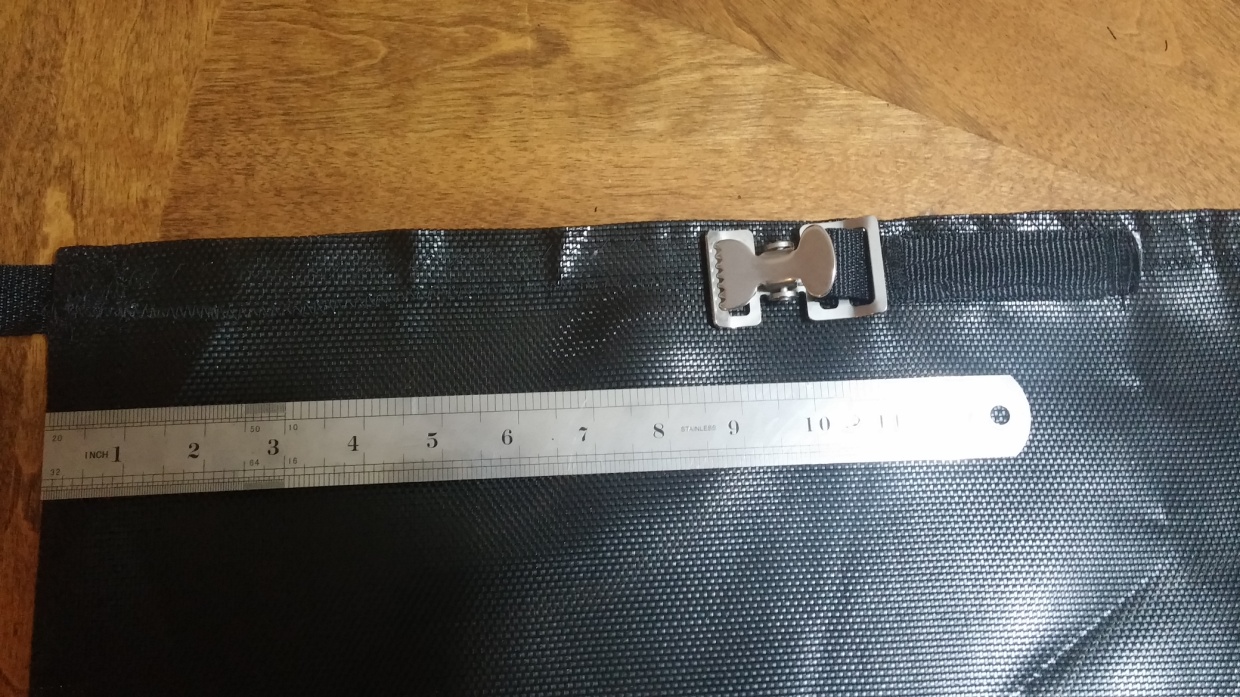
- Long side, top side of spray guard (I prefer the buckle accessible from above), mark 10″ from corner. 9″ webbing, through buckle, leave the top layer 1/2″ longer than the bottom for clean transition, place webbing buckle fold at mark, buckle towards corner.

- Only on the forward tip, pull the cord flush with the tip. then sew. Do NOT sew the rear tip!

- Secure the attachment lines with a strap of webbing, then trim.

- Add pockets to hold the ama webbing.

- Add velcro straps forward and aft to secure the spray guards when they’re rolled up. ( They roll up to the underside).

- Rough fit the spray guards, tie off the rear, adjust the outward strap so the spray guard contours the hull.

- With the forward tie under tension, mark the locations of the holes. I used about 1 1/2″ excess to allow for fore and aft alignment and stretching. Mine are 25″ aft of the bow strop holes.


- For the aft attachment, put the spray guards under tension, then install as you did with the forward attachments.
- Improvements: Having tested your spray guard, you may want to add an extra patch of mesh material set at a different angle to the first to catch the main jet of spray that comes up from the bow.
-
This topic was modified 8 years, 7 months ago by
-
This topic was modified 8 years, 7 months ago by
-
This topic was modified 8 years, 7 months ago by
-
This topic was modified 2 years, 5 months ago by
-
This topic was modified 2 years, 5 months ago by
-
This topic was modified 1 month, 3 weeks ago by


- You must be logged in to reply to this topic.